
Dutchy
-
Posts
441 -
Joined
-
Last visited
Everything posted by Dutchy
-
Merry Christmas everyone ☃️⛄☃️⛄☃️⛄
-
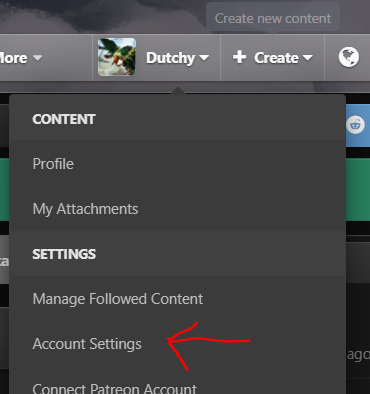
Hello @Owedevil, You can change your forum name via here: Your ingame name can only be changed by a moderator. For this you can make a ticket on the discord.
-
Hype Hype Hype
-
Hello everyone 😄 As the title suggests, I would like to try to accomplish the tutorial deck challenge. For those unfamiliar, the tutorial deck challenge is about completing all expert maps with an upgraded tutorial deck. I think the main challenge of the maps will be the charges. Since I will have only limited time, and I do not want the people watching to wait for charge cooldown, I though I might make my own tutorial deck of 7 cards. I am going to stream my first attempts in the week between Christmas and New Years. Afterwards I will upload the successful runs on YouTube and put the replays in this topic. If you have any tips for me, feel free to put them below. YouTube Channel: https://www.youtube.com/channel/UCaZk_YLKq12P8yFEvm0ptVw Twitch Channel: https://www.twitch.tv/dutchydutchy

-
Next tournament I'll bust out my new Bandit brew. Everyone better prepare!
-
The new Fire RPvE is so much fun!
-
WAUW!
-

Anniversary Stream: Friday 20:00 CET - December 17th
Dutchy replied to Majora's topic in Announcements
HYPE HYPE HYPE -
Hello @Glurak Please create a ticket on discord via #contact-staff. Also, the forum and discord is only in English. Best regards, Dutchy
-
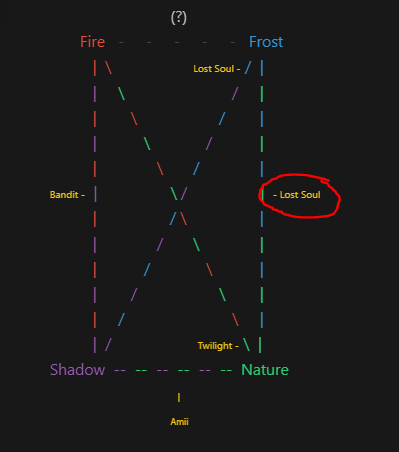
Hey, fire/frost will not be any time soon due to technical restrains. also, there is a mistake in your beautiful graph
-
Databate of what the cards look like for constructing my deck?
Dutchy replied to Protaygo's topic in General Talk
Hey @Protaygo Do you mean something like this? https://skylords-reborn.fandom.com/wiki/Skylords_Reborn -
I can't wait, so excited!!!
-
HYPE HYPE HYPE!
-
Official PvE Contest#4 Winter is coming UNTIL 17.12.2021
Dutchy replied to Metagross31's topic in Events and Tournaments
Awesome event! I enjoyed reading the objective names a lot as well, very creative! -
Are you referring to @Volin here? 😛
-
Did you get the 100bfp before you tried the mini booster? You can only get 1 of the 2 as it says here:

-
Totally agree! Awesome tournament!!!!!
-
My suggestions for the card would be: - Bandit Annihilator - Bandit Dragon - Bandit Dune Dragon -
-
Correct 😉
-
Great update as always! The team is doing an awesome job, keep it up! I'm so proud to be a part of this and so can you! Please check out if any of the open roles fits your skills and time.🙏
-
Hype!!!
-
What card do you get the strongest BattleForge vibe from?
Dutchy replied to Majora's topic in General Talk
Sorry, Never played in EA times. I did watch my cousin play a couple of times. I remember the Giant Wyrm.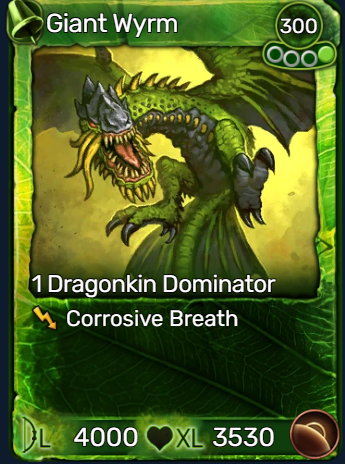
-
I totally agree with treasure fleet (not because of my ranking 😛) To play the map the normal way, I really enjoy Nightmares end, Mo, and Blight. For speedrunning, my favorite is Convoy. And my newly discovered love for Nightmare Shard ❤️
-
Official PvE Contest#3 Skylords Raid - UNTIL 27.11.2021
Dutchy replied to Minashigo Hiko's topic in Events and Tournaments
HYPE HYPE HYPE -
Happy Halloween everyone!