Hello fellow skylords and skyladies,
This is a guide for the map Blight on expert.
When I played though the campaign this was the map i failed the most. In the first 2 attempts i couldn't clear the first 2 camps, and the other attempts i failed because my teammates died. This is a really unfogiving map, because of its short time limits. If you make a mistake you will get run over, and even if u can recover from the attack you lose time and probably will fail to clear the next camp.
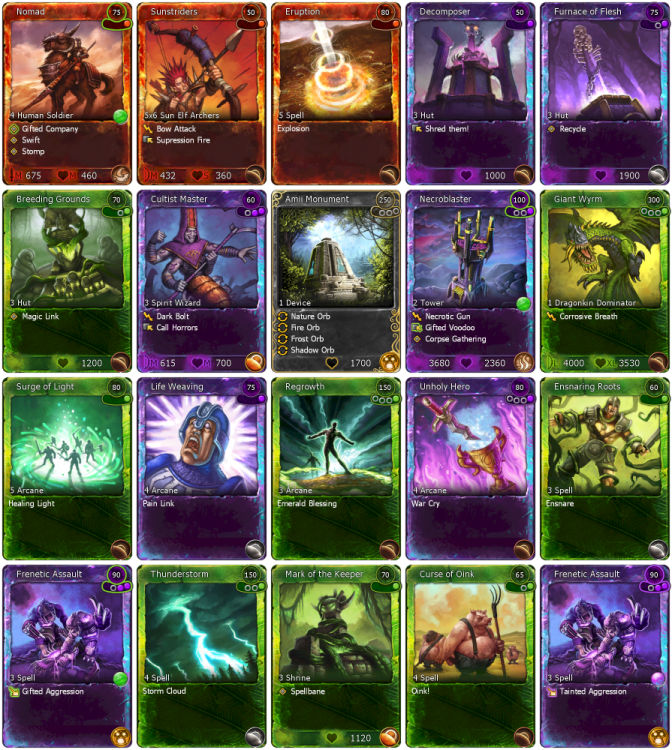
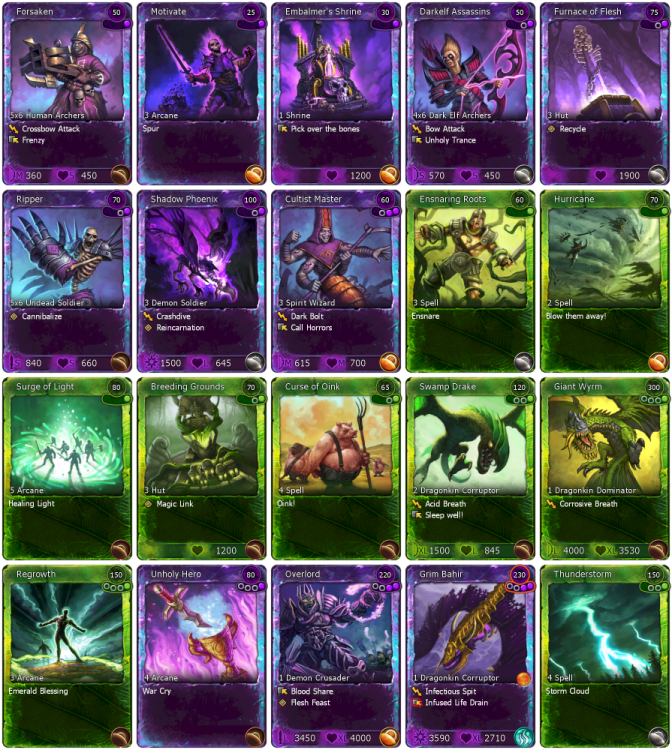
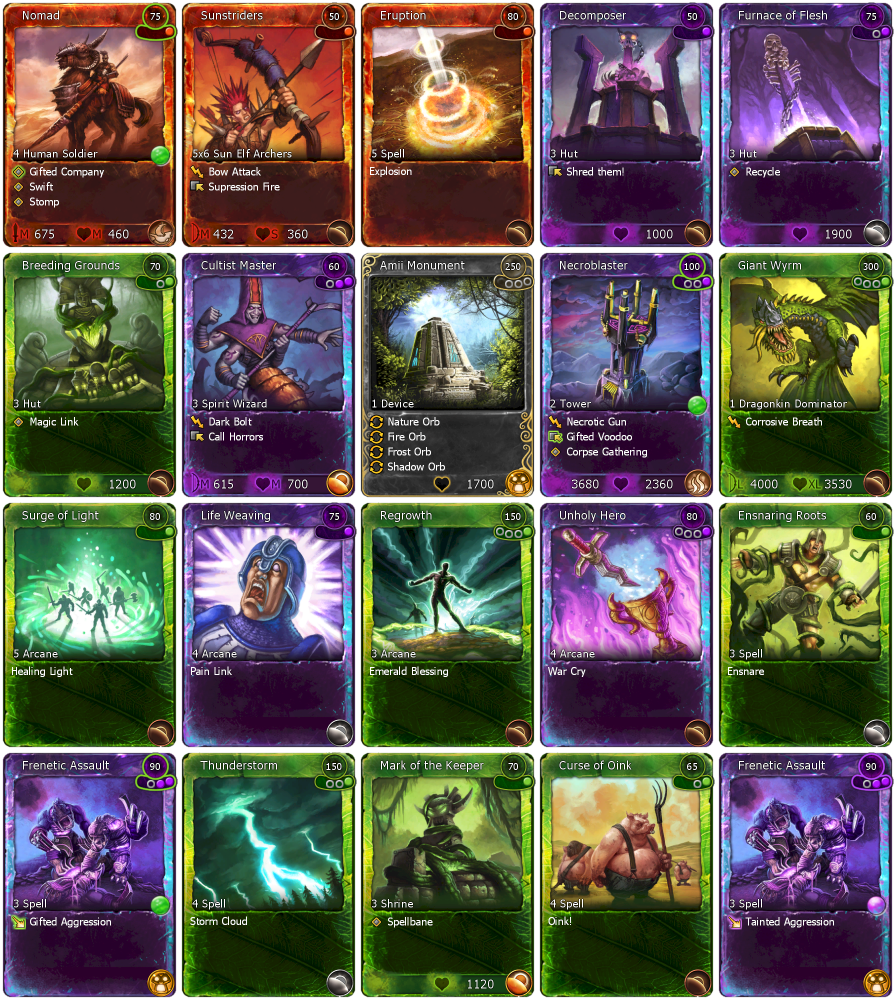
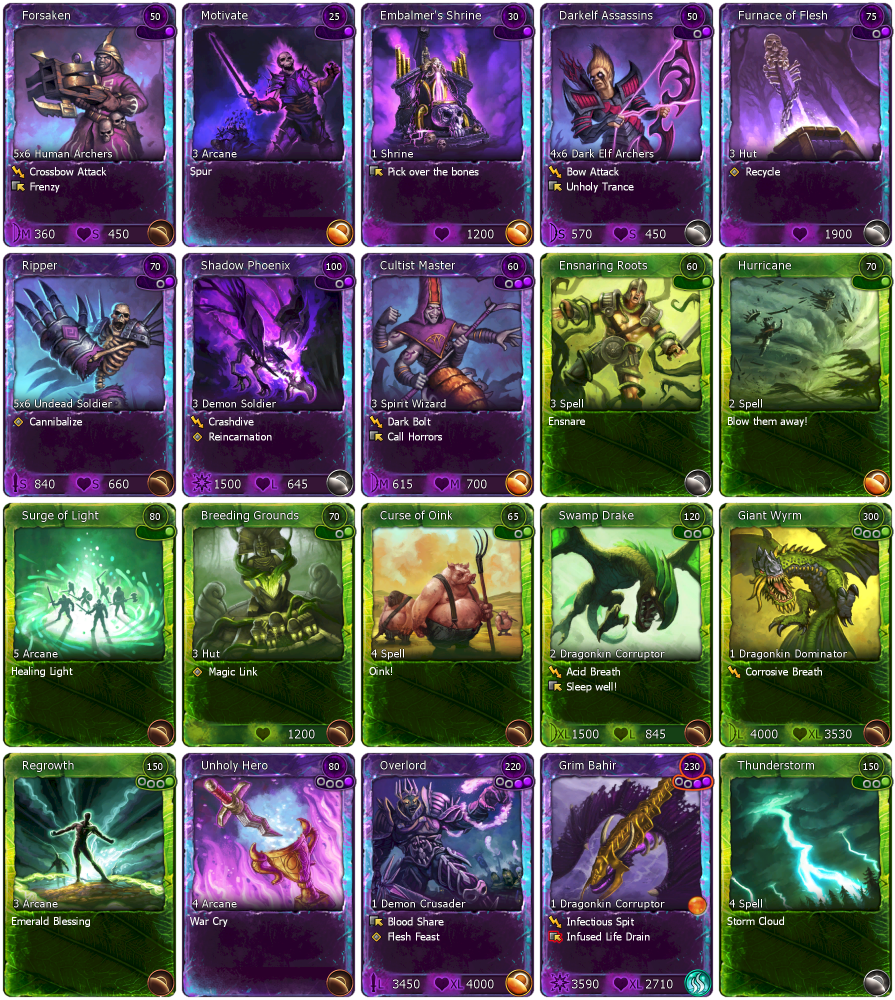
There are 4 paths in the map, i will refer to them as bottom left, right and top left and right. Bottom right is probably the easiest: manawing spam can clear the first 2 camps really easily. Top left can also use manawings to clear the first camp, but on the second it gets a bit tricky, you cant fly around the big tower and it kills manawings fast. I have the most experience with bottom left: i use forsakens with motivate to clear the first camp, build a breeding grounds and an embalmers shrine to support my shadow phoenixes. After i spawn my 5th bird there is an incoming attack. The phoenixes can clear that easily. After the attack i summon some more phoenixes so i have 6, then send them to destroy the 2nd spawn building. I use rippers, darkelf assasins and root to clear the remaining camp. After i get to tier 3 i can build an amii orb and send a giant wyrm with heals and unholy bonus to destroy the last camp in the middle. If you dont have amii monument im sure swamp drakes can also do the job. From this point the game is pretty much won, at t4 the middle base should not be a problem. I use mostly ranged t4 units so switching the anti magic device helps a lot.
I hope this guide helps for those who struggle to finish this map. I didnt say anything about the top right path, because i haven't played on that position yet, but im sure forsakens and phoenixes can clear it also.
This might not be the fastest way to complete it, but its a pretty reliable strategy.
My english is not perfect, but i hope its comprehensible.
Down there are two replays from me on this map.
20201229_222548_12300_PvE_04p_Blight2.pmv 20201230_141411_12300_PvE_04p_Blight2.pmv